
![]()
I was comissioned to create an illustration for a jigsaw puzzle that would work as one piece and 3 independent pieces as well. Following the last years footnotes of “Silent Whispers” with the same intent, I thought to myself: “All right, that is really not a big deal”, but when I started to put some ground work into it, it become very clear the task was not as easy as I originally thought. There are many things I have learned over the span of couple of years, that are affecting the jigsaw puzzle illustration. First and foremost, the effective composition that makes a successful illustration, doesn’t really have any bearing in the world of puzzles. The less negative space (preferably none), the better the puzzle will be. My biggest challenge is to keep creating pleasing illustrations without compromising art theories and at the same time make an image that will capture the puzzle maker. I will have to write a bit more extensively about the differences of “creating with the purpose” in another article. For right now, let’s just continue with the creative process at hand.
I have decided to compile the material to show you the simplistic preparation process from start to finish. This process is pretty much the same in all of my work flow. It starts with the idea, progresses with the adequate reference search, compositional sketch and ends with hours of painting.
NOTE: Some of the following photographs were taken from the Internet and were used for reference purposes only.
References
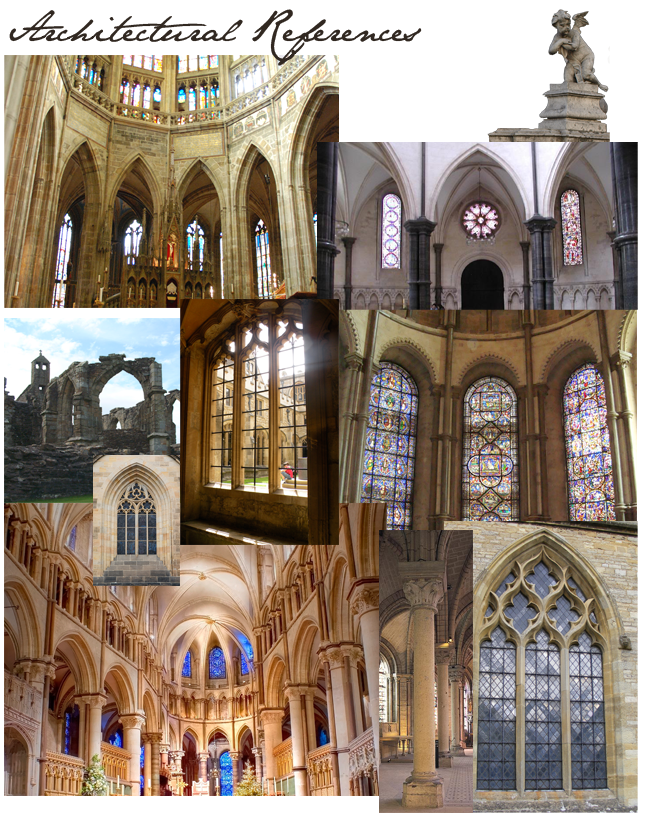
Here are some of the photographs I have used as references to get the idea for the indoor chapel. It was not important to represent any historic time frame, so my search was wide open, as long as the final result depicted gothic feel. The finalized idea of the curved dome as an altar, with combination of stained glass windows was based by the reference photos of the old english abbeys.
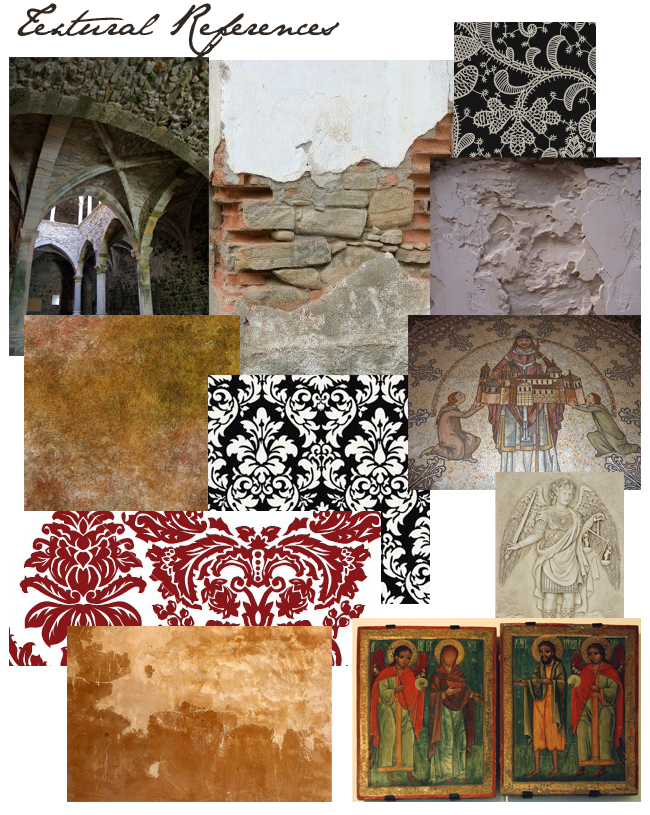
Texture reference is very important aspect of the process. I think it adds realism and depth to any surface. Once the surface is painted, I would either create custom texture brushes and apply to needed areas or just simply paint/draw texture by hand. I like to make sure that if I do combine those two methods, the final result appears consistent across the whole illustration.
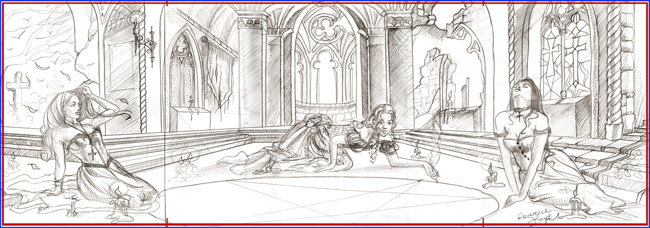
Composition Sketch
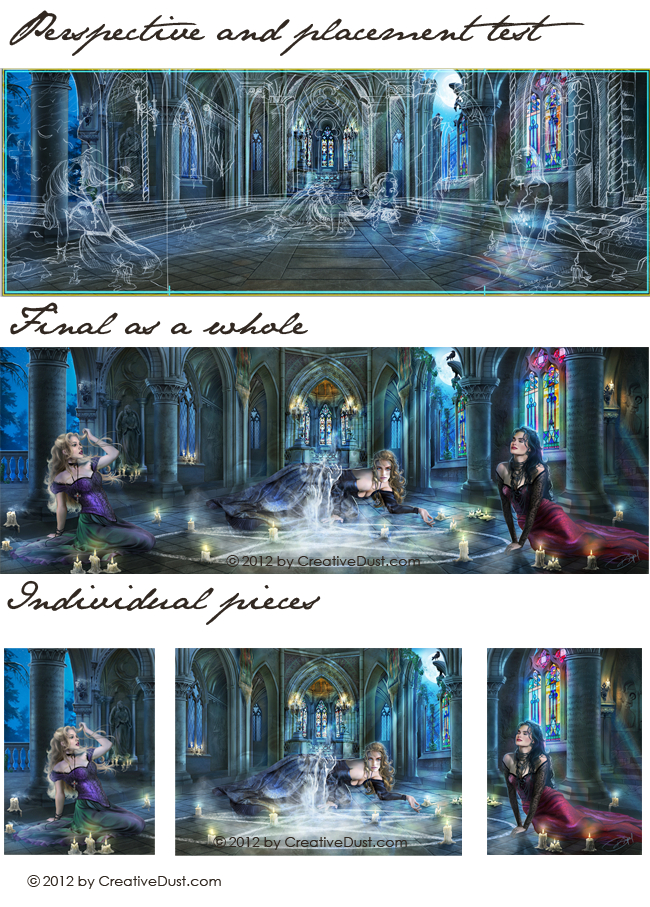
When all of the reference materials were gathered together, I worked on the pencil sketch. The sketching usually takes several tries. Views from different perspective or just playing around different compositions. In this case, I knew that the the illustration as a whole had to be divided into 3 separate pieces and with that in mind, the composition had to work both ways. The background was fairly simple. I’ve placed the vanishing point in the center and worked from there. The 3 characters were pretty much a requested positions by the client, so I had to find a suitable spacing to feature them in the best possible way. I’ve decided to have them interact with each other, which enabled me to view them as individuals as well. The sketch was rather large and had to be scanned in 4 pieces, then re-essambled in Photoshop.
As I originally wasn’t planning to show the step by step process, I haven’t saved any steps per say, but here is one of them where I layered the sketch over the painted background to check the perspective and placement of the characters. There are many things that have changed from the sketch to the final (for example the columns, the dome windows, some of the placement of the main windows and the structure rubble). The sketch overlay is to show just how many things are different. As long as the prespective works, the rest is open to change.